Headscarf Hairband (or Headband) free crochet tutorial
Small daughter has a bit of a penchant for bandanas. She has quite a selection already and they’re really useful for girls who don’t like wearing hats in the summer, and especially for wearing in swimming pools to keep the sun off small heads.
So far, we’ve been picking them up when we’ve been on holiday, and they’re always made of material. I’ve been thinking for a while how I could make a woolly one – quick and easy to make yet practical and washable. And here is the result!
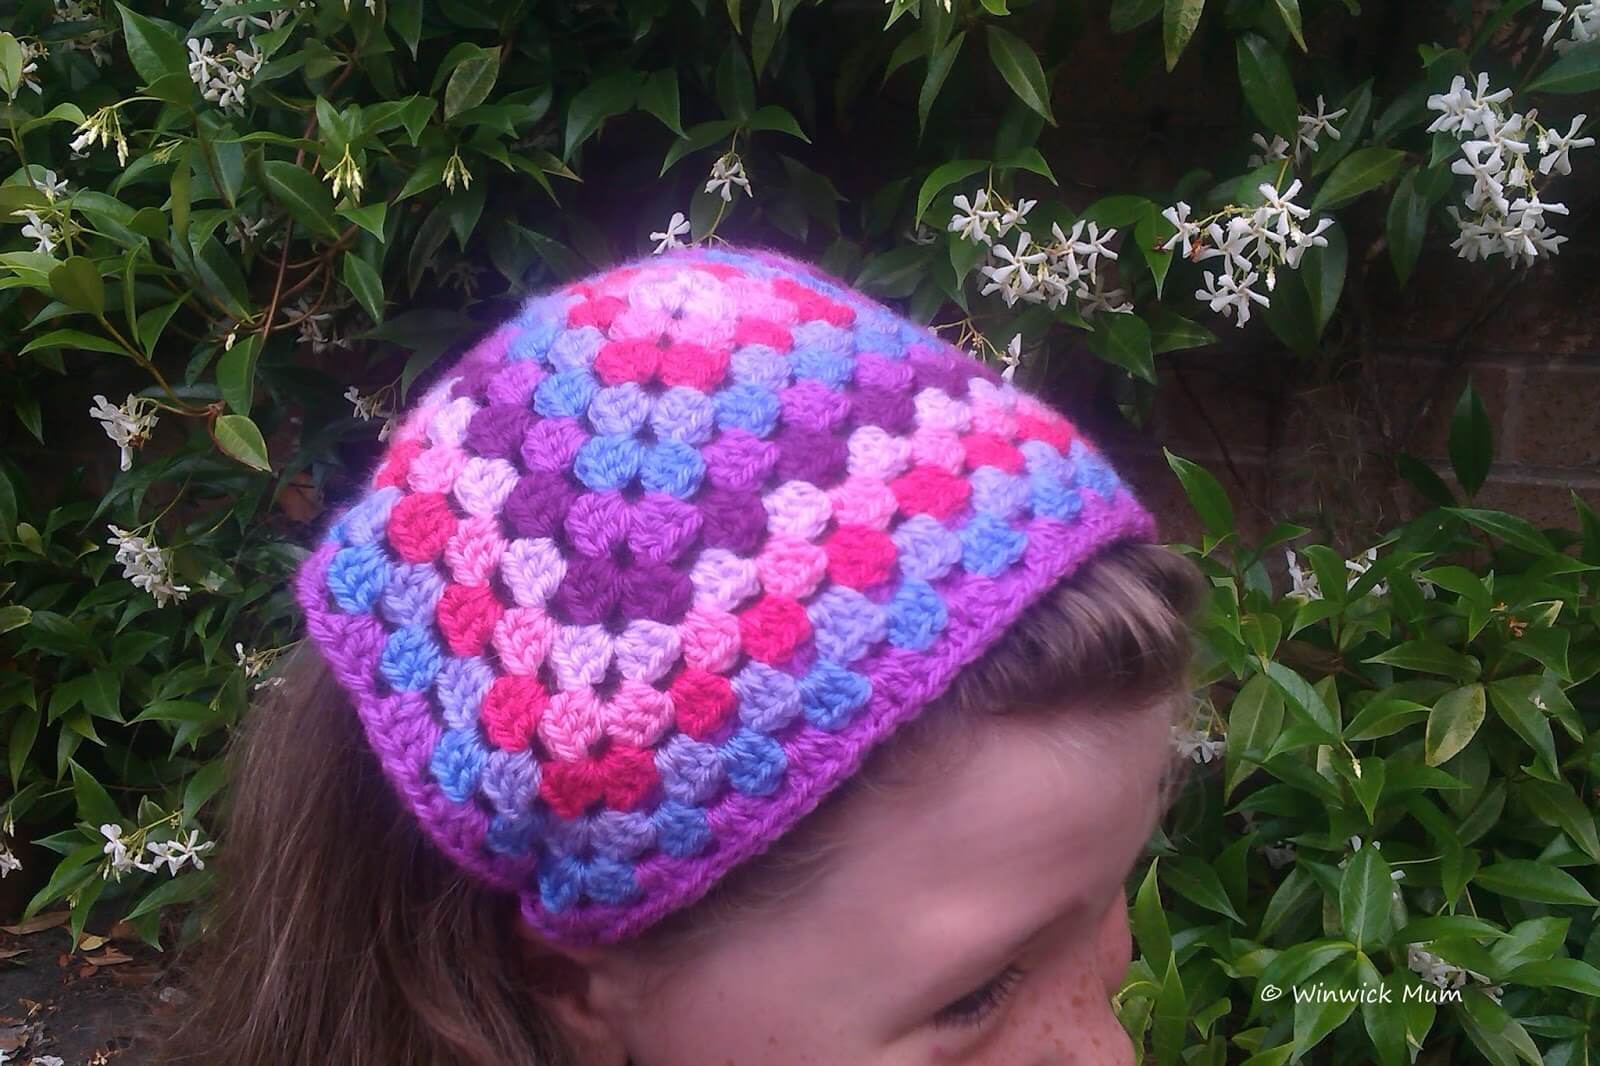
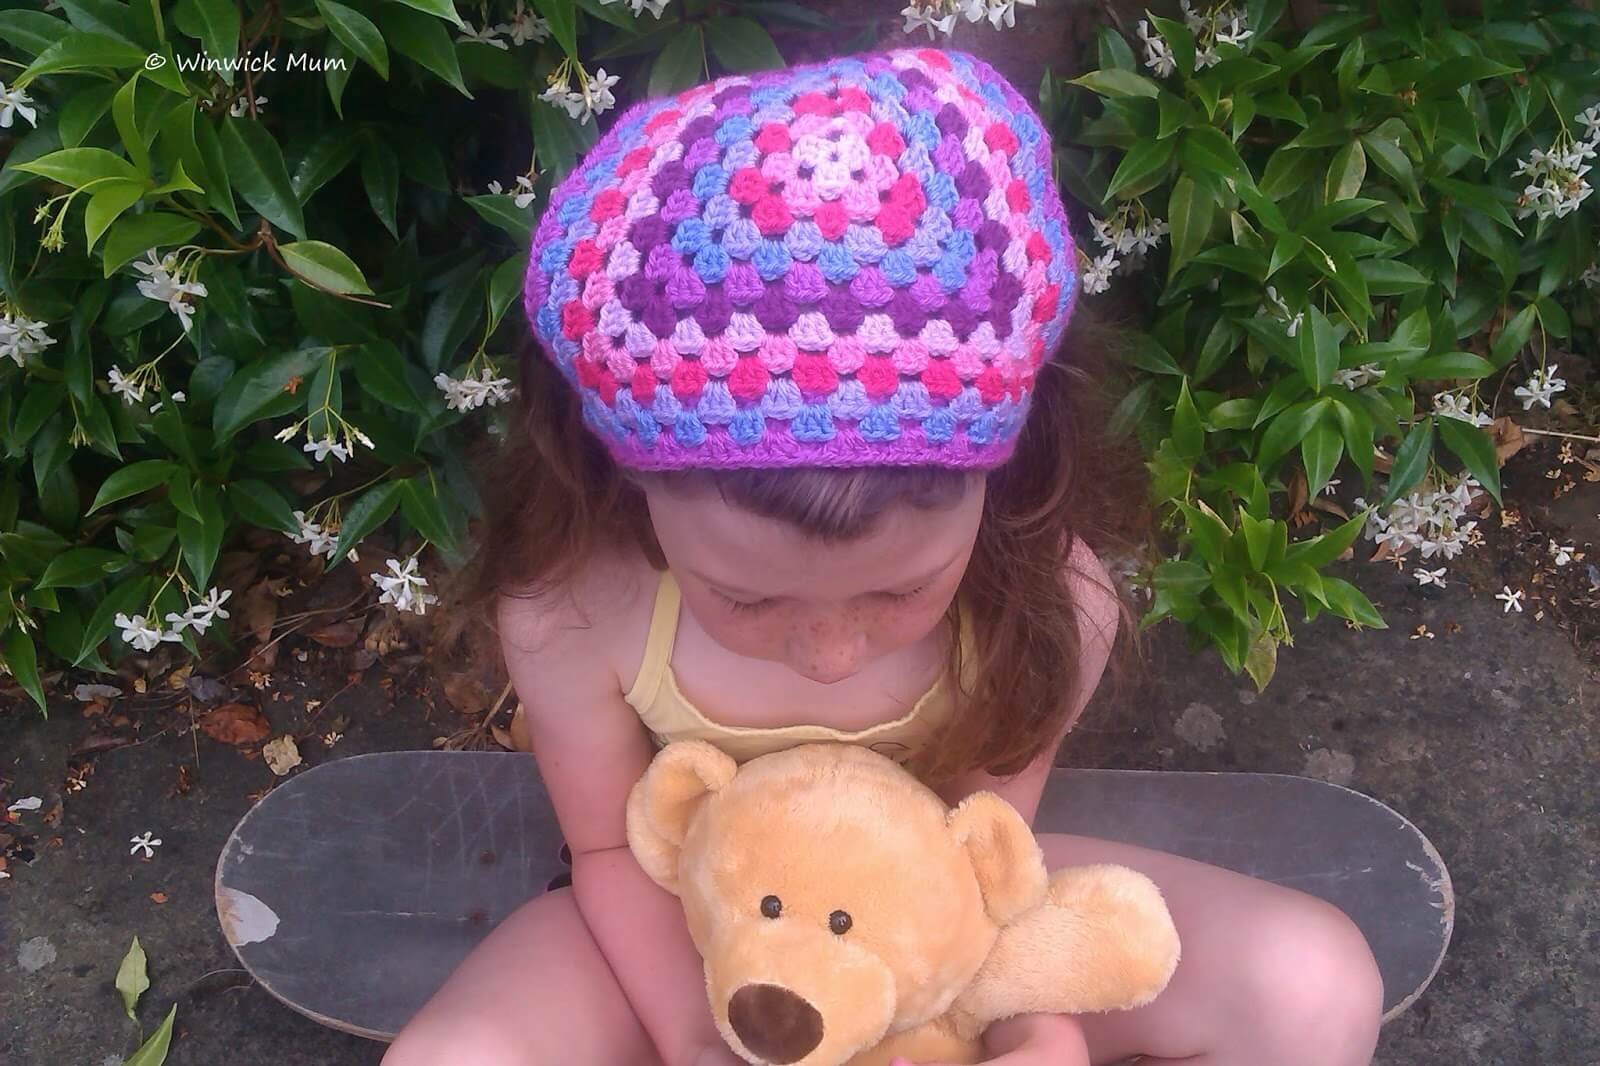
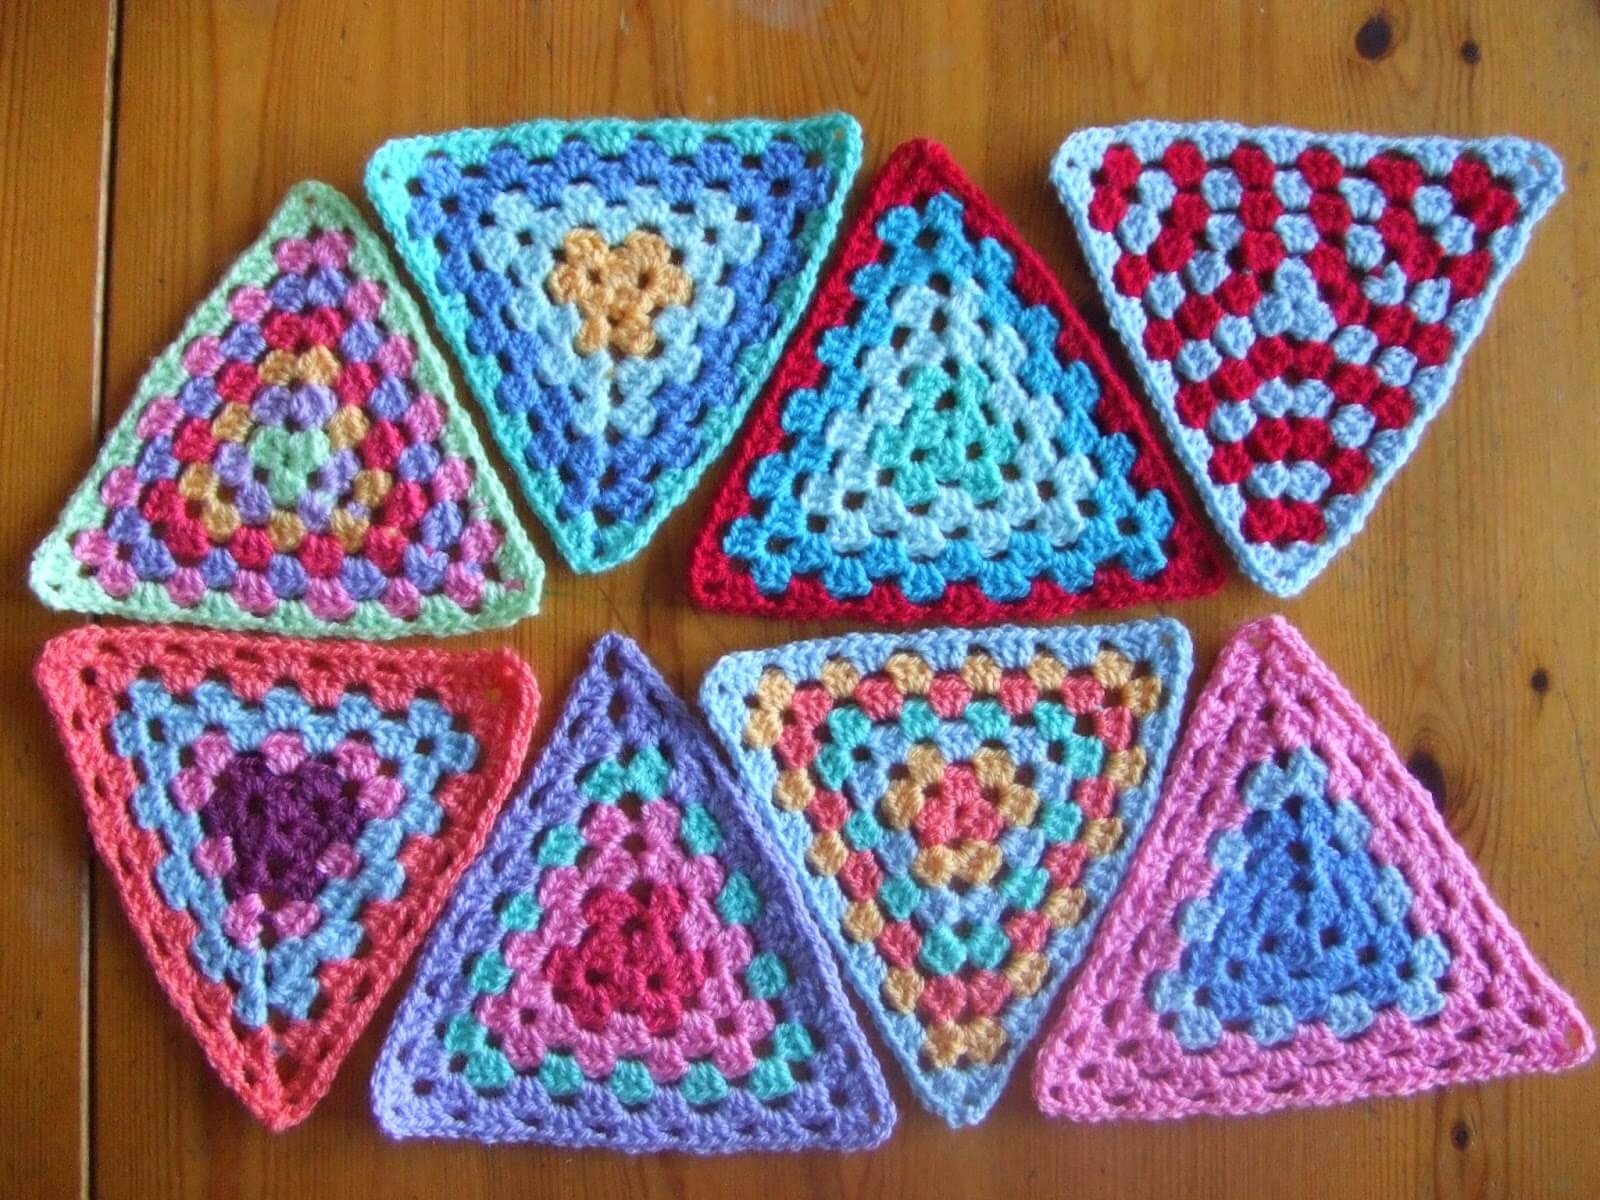
It’s based on the Granny Bunting Triangle from Lucy’s blog at Attic24, and is the pattern that is being used for the Yarndale 2013 bunting that lots and lots of people across the globe are busy crocheting ready for the end of September. And yes, before you ask, of course I have made my Yarndale bunting triangles and here they are about to be packed up and sent off to Yorkshire.
So, back to the woolly bandana, although actually I think it’s more like a 1960s headscarf. I could imagine a glamorous film star hurtling through the streets of Rome on a Vespa motorcycle wearing one. I won’t call it vintage as I’m a ’60s baby myself and am in no way old enough to be thought of as vintage!
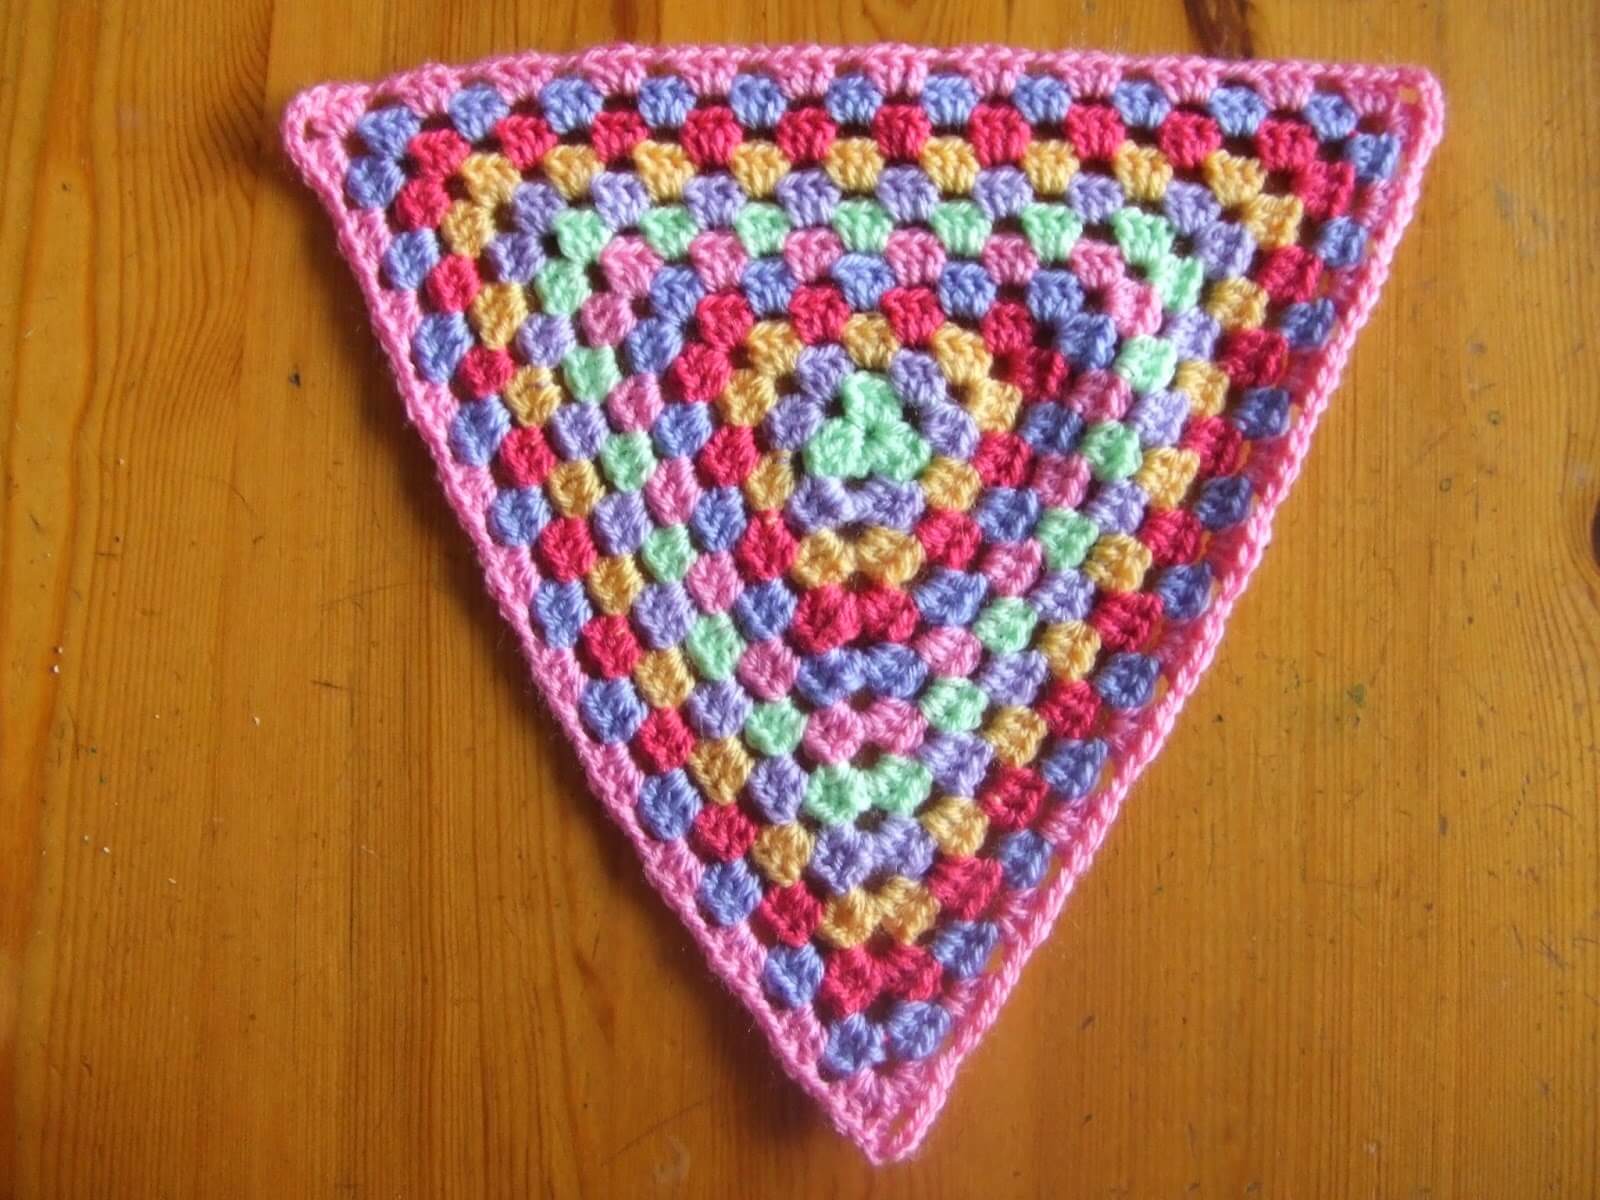
It’s very simple to make and you can find the pattern for the triangle here. I worked 13 rounds to make it the right size for small daughter’s head, but you can make it as big as you want to. This is what my triangle looked like when I had finished. I’ve made it with Stylecraft Special DK yarn, leftovers from my neat ripple blanket, and I used a 4mm hook.
Next, I made the hairband part by creating a strip of half treble stitches. Using the colour that I used for last round of the triangle, I made a chain of 6 stitches which makes a strip of 4 stitches wide. I should point out here that I’m using UK crochet terms.
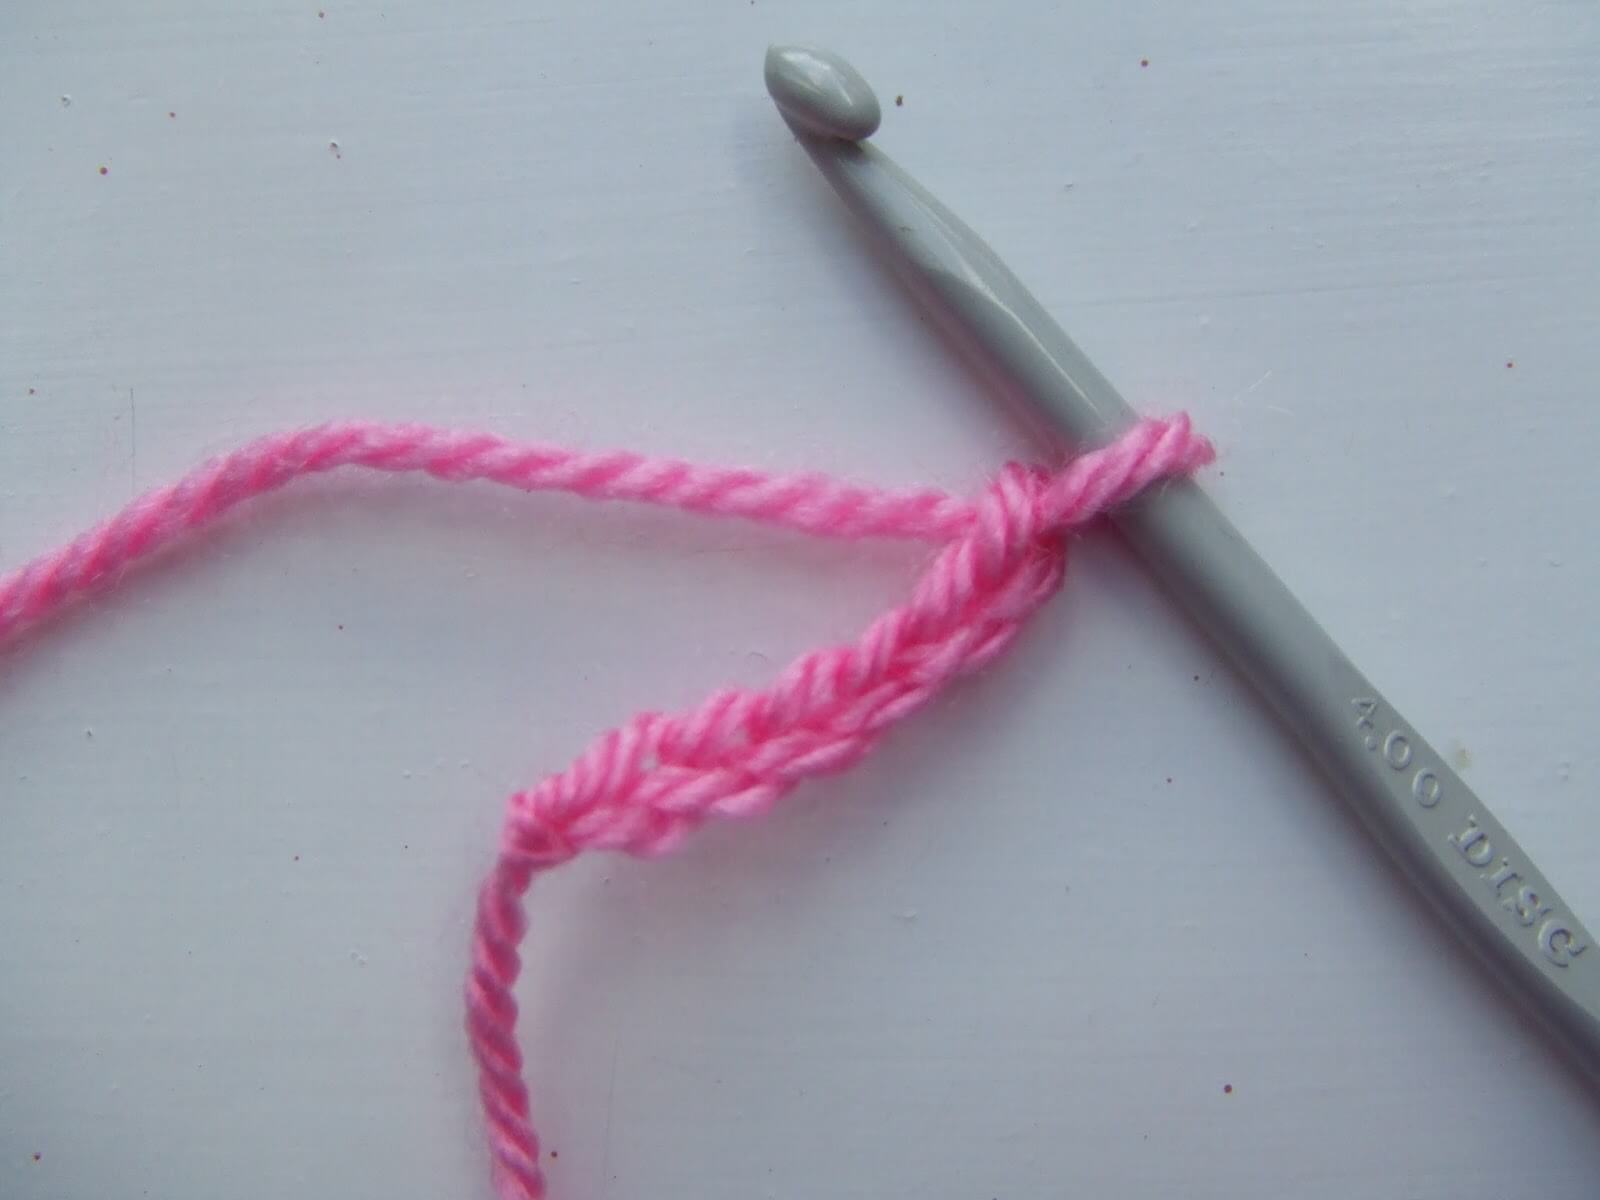
To create a half treble stitch, you ignore the first two chains from the hook …
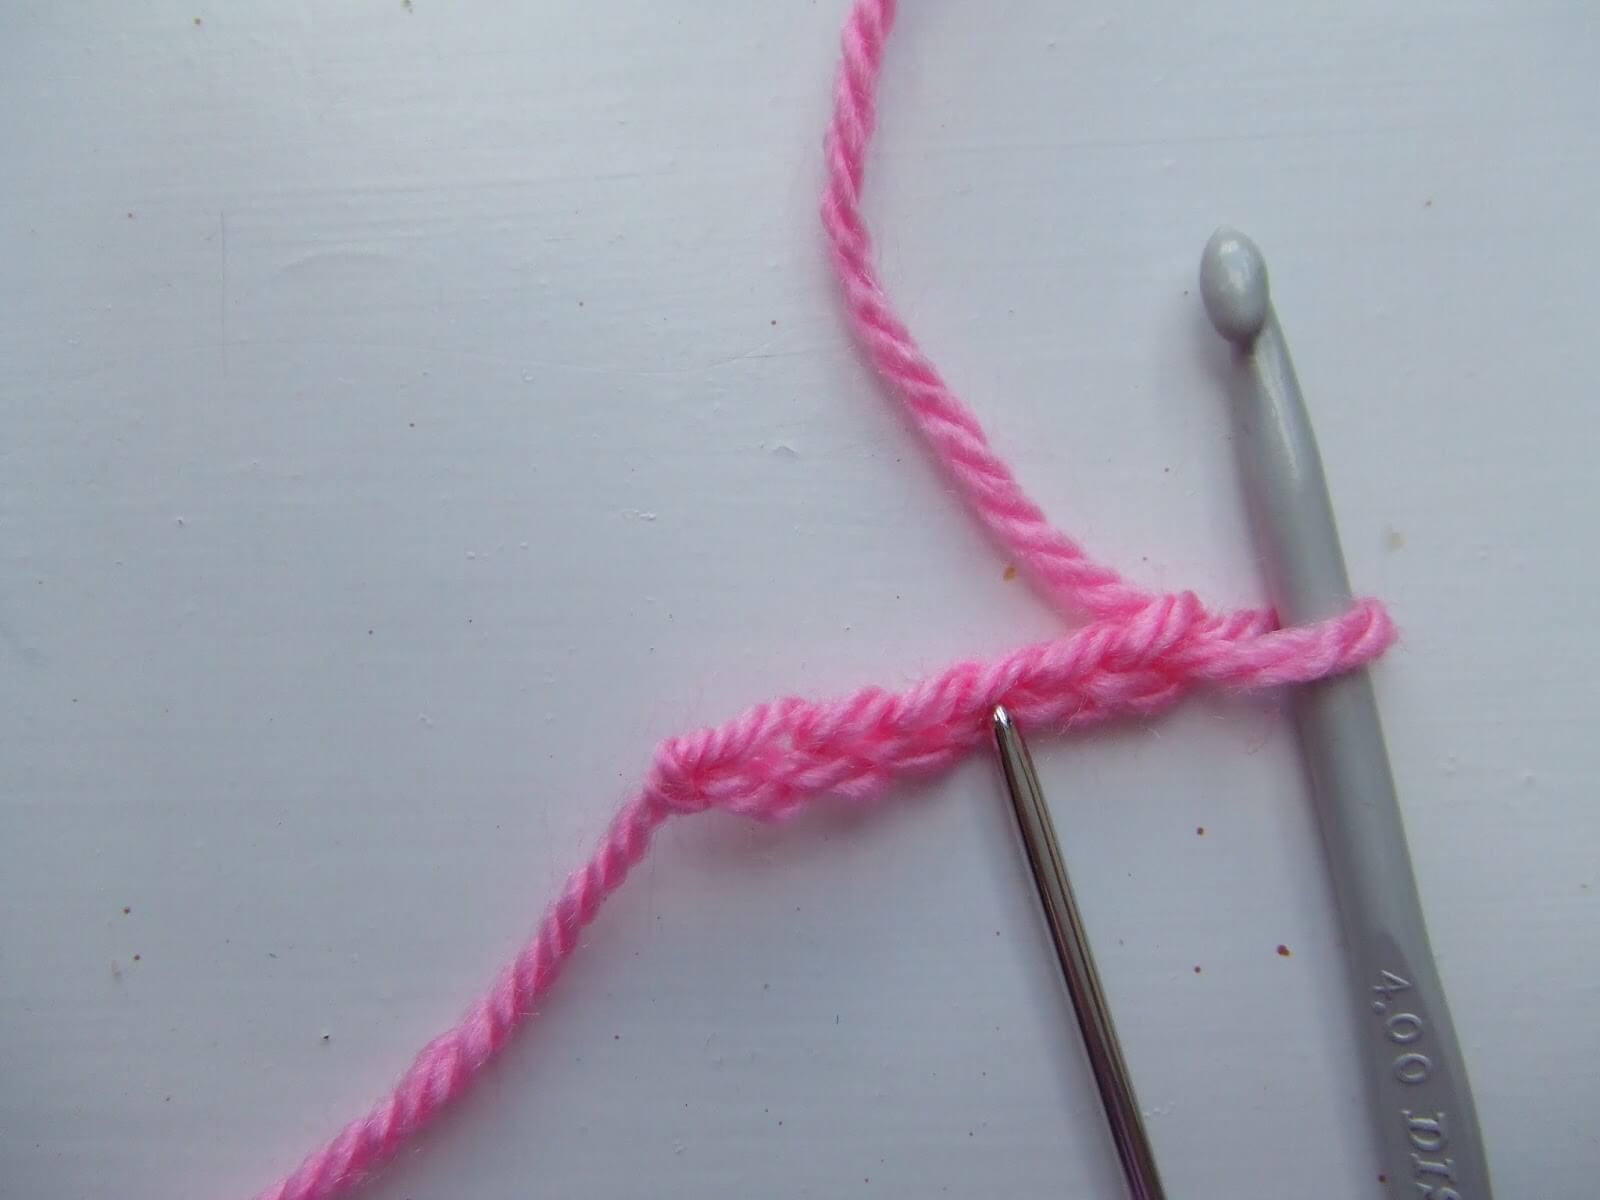
wrap the yarn once around the hook and then put it into the third stitch from the hook. Then wrap the yarn around the needle again and pull the yarn through all three stitches on the hook to create the stitch.
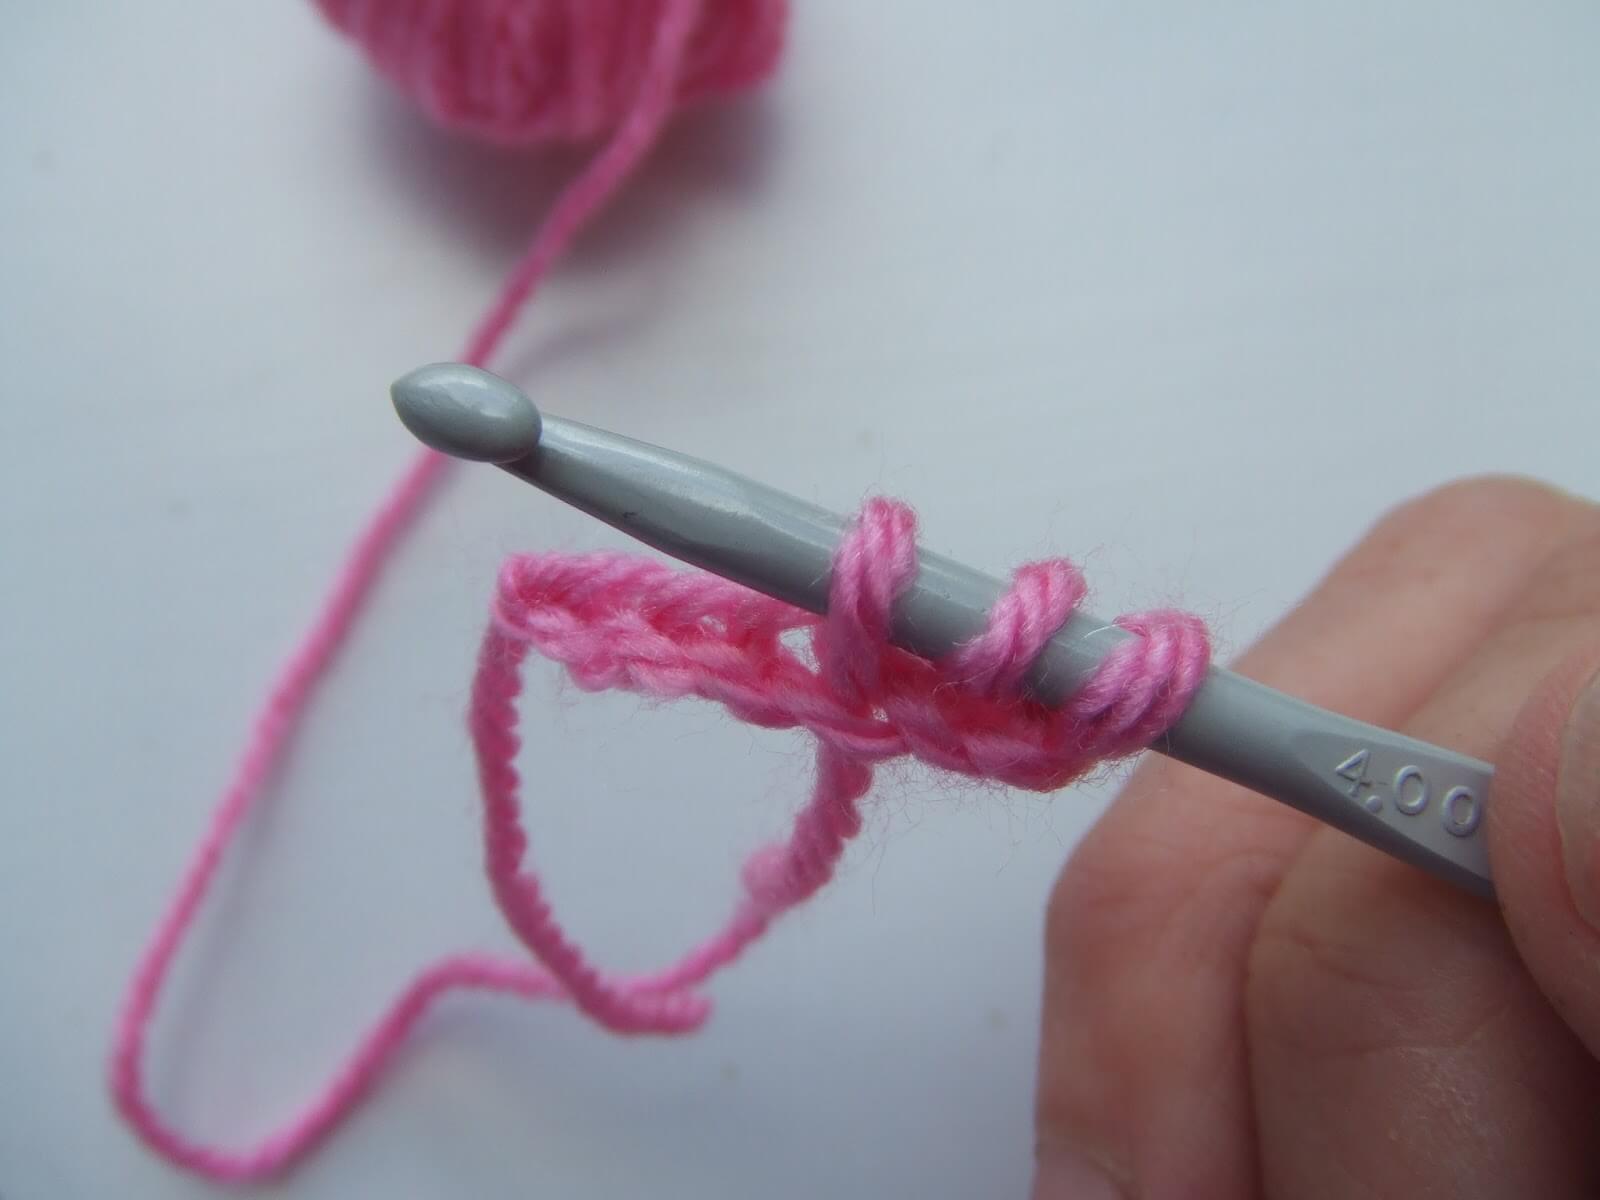
Here’s a completed stitch. It’s bigger than a double and smaller than a treble but is nice and stretchy for something like a hairband.
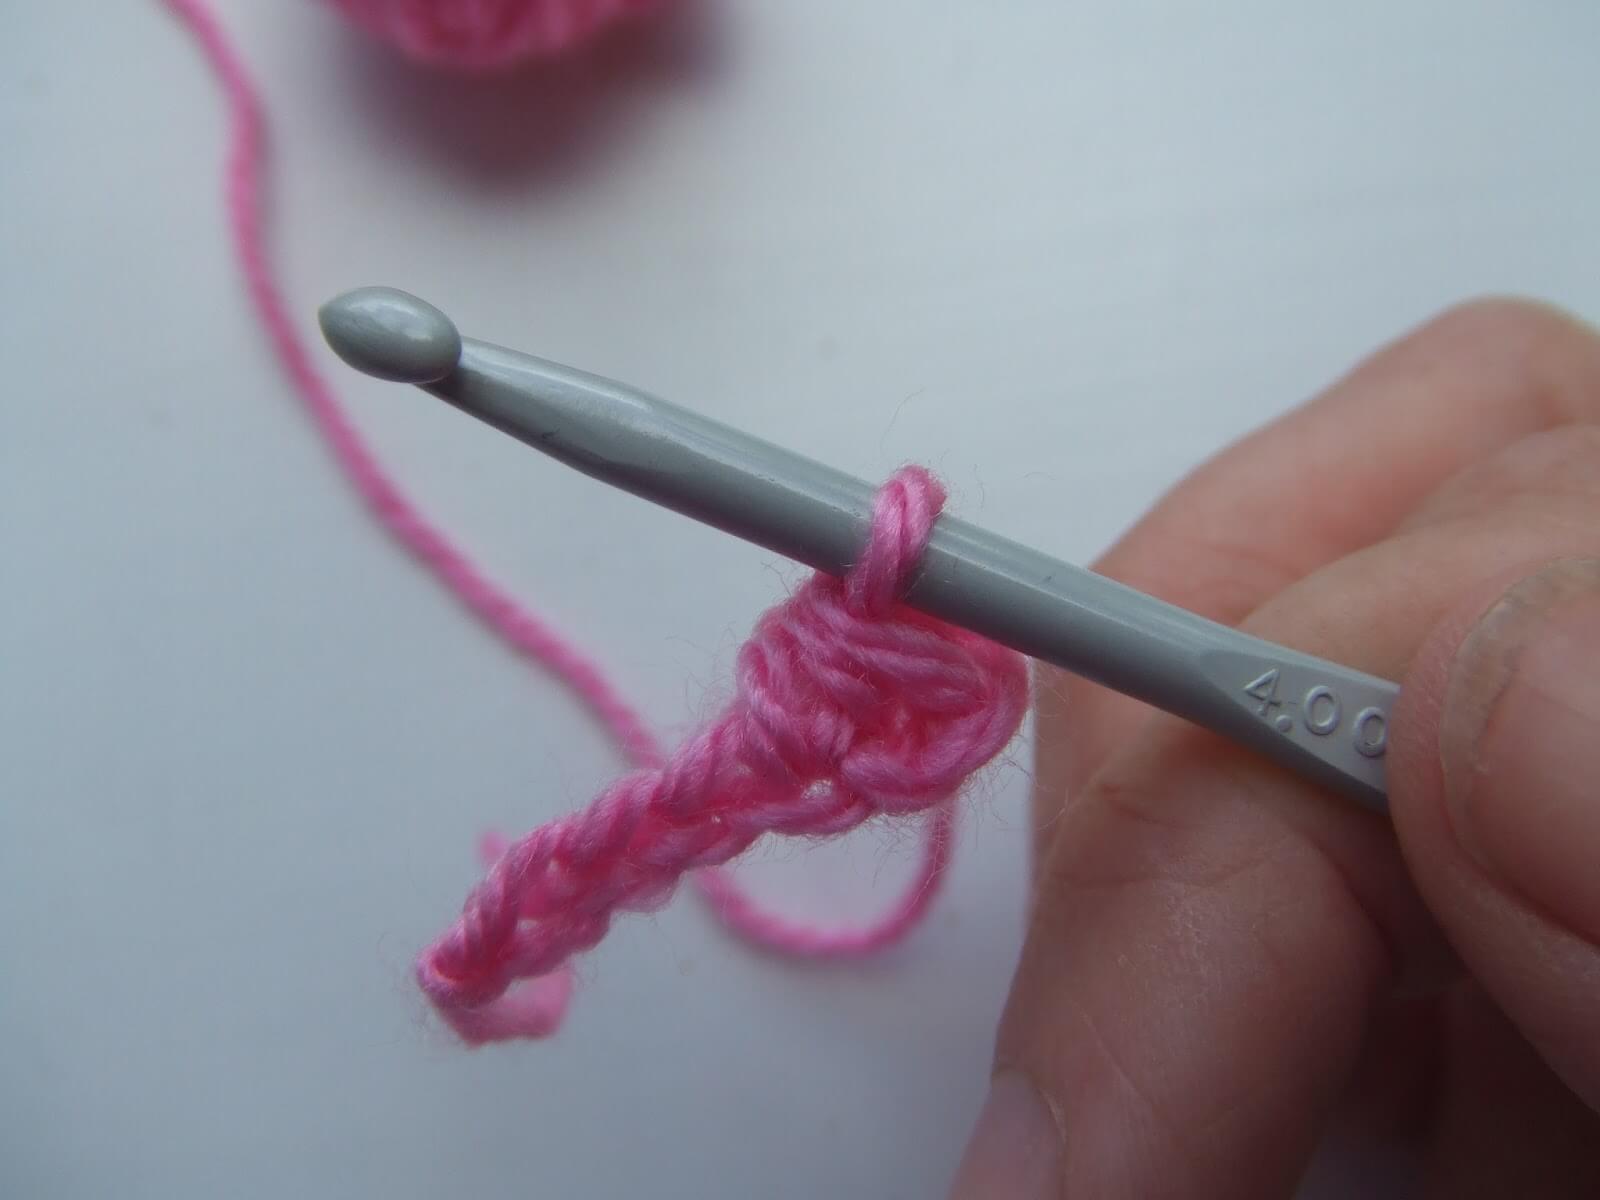
This is what the first row looks like, with two chains at the end of the row to create the first stitch as you turn the work around.
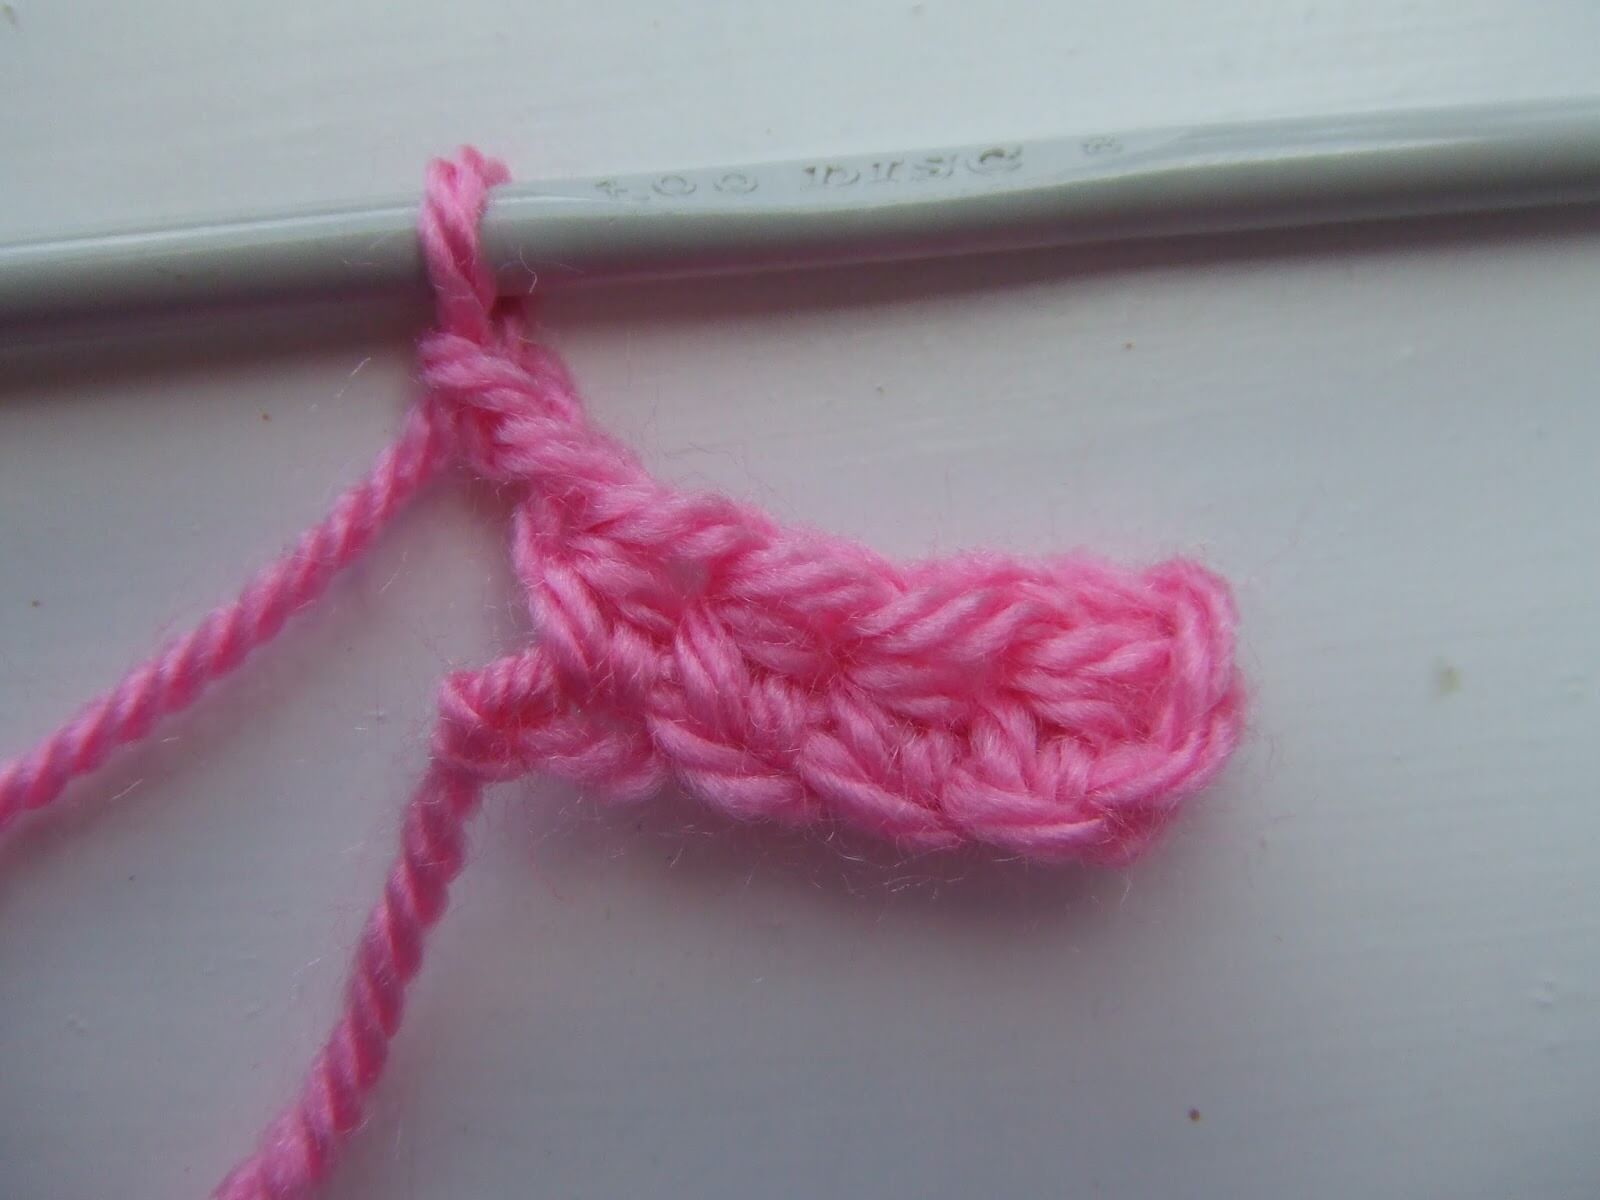
Wrap the yarn around your hook and insert the hook into the first hole to create the first stitch of the next row.
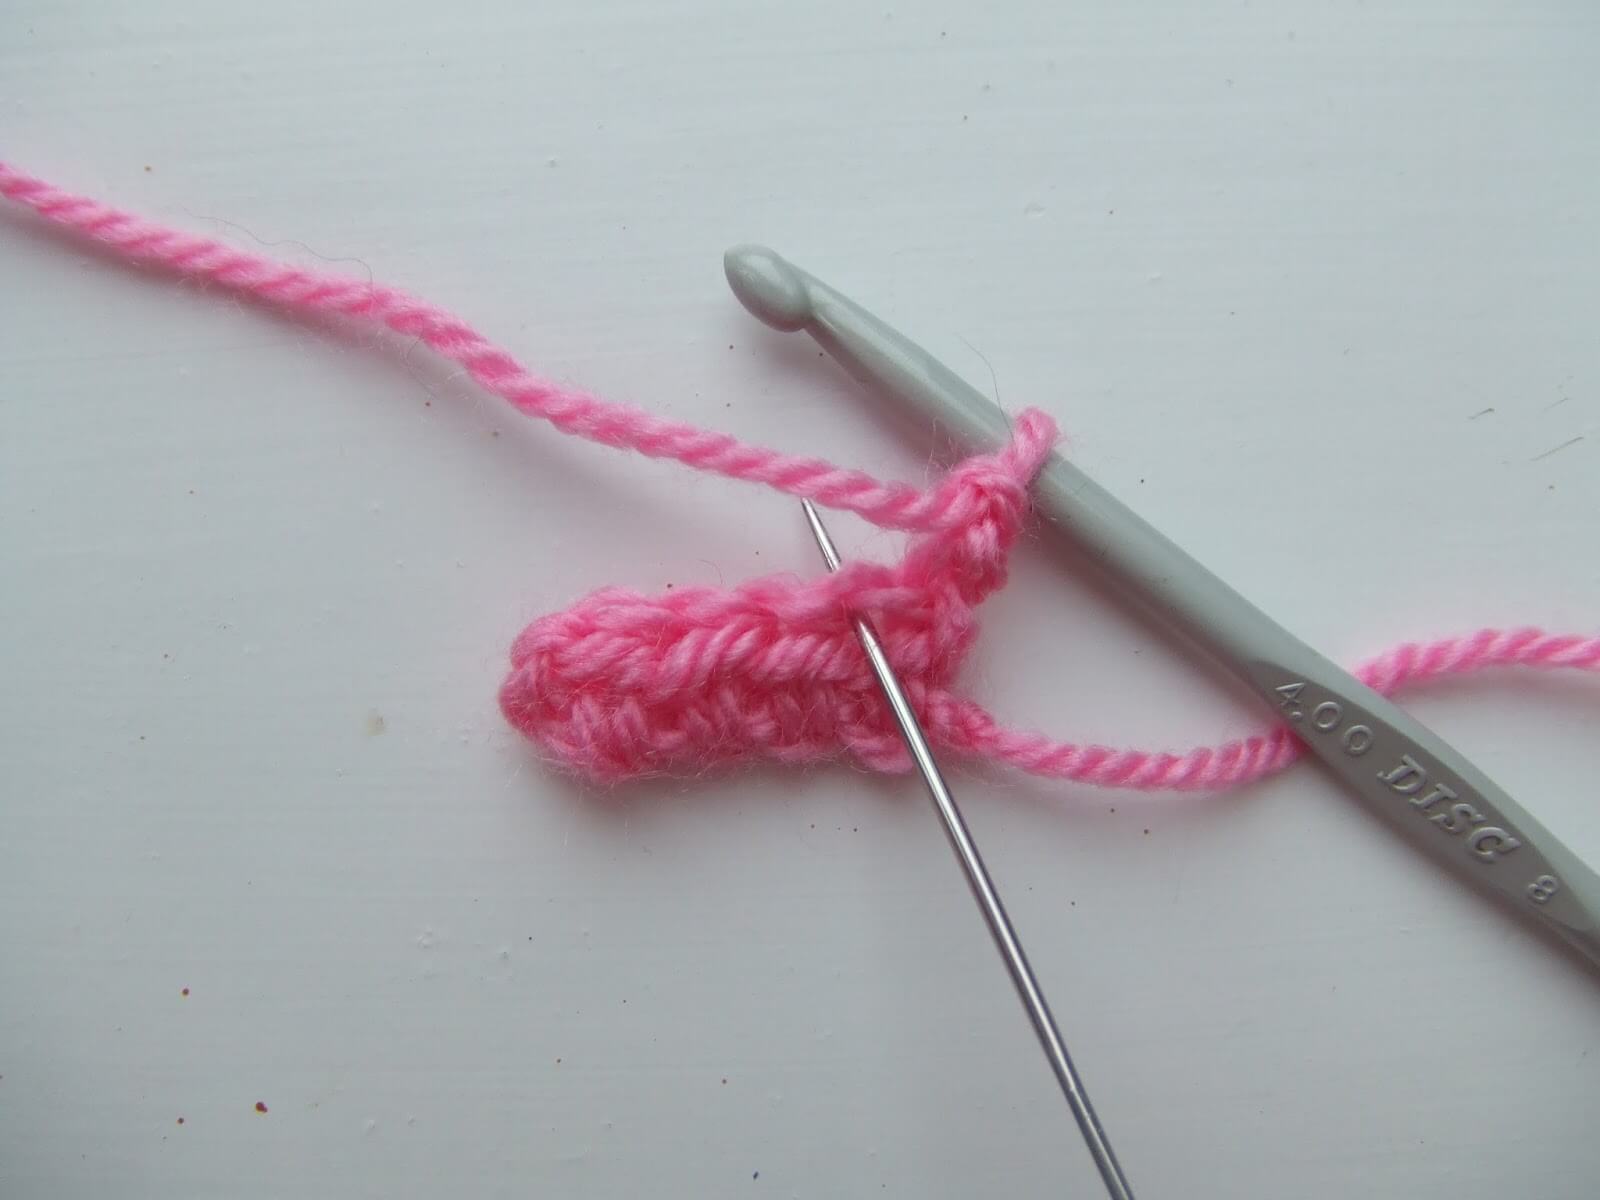
Continue along the row to the end, remembering to make 2 chains to start your next row.
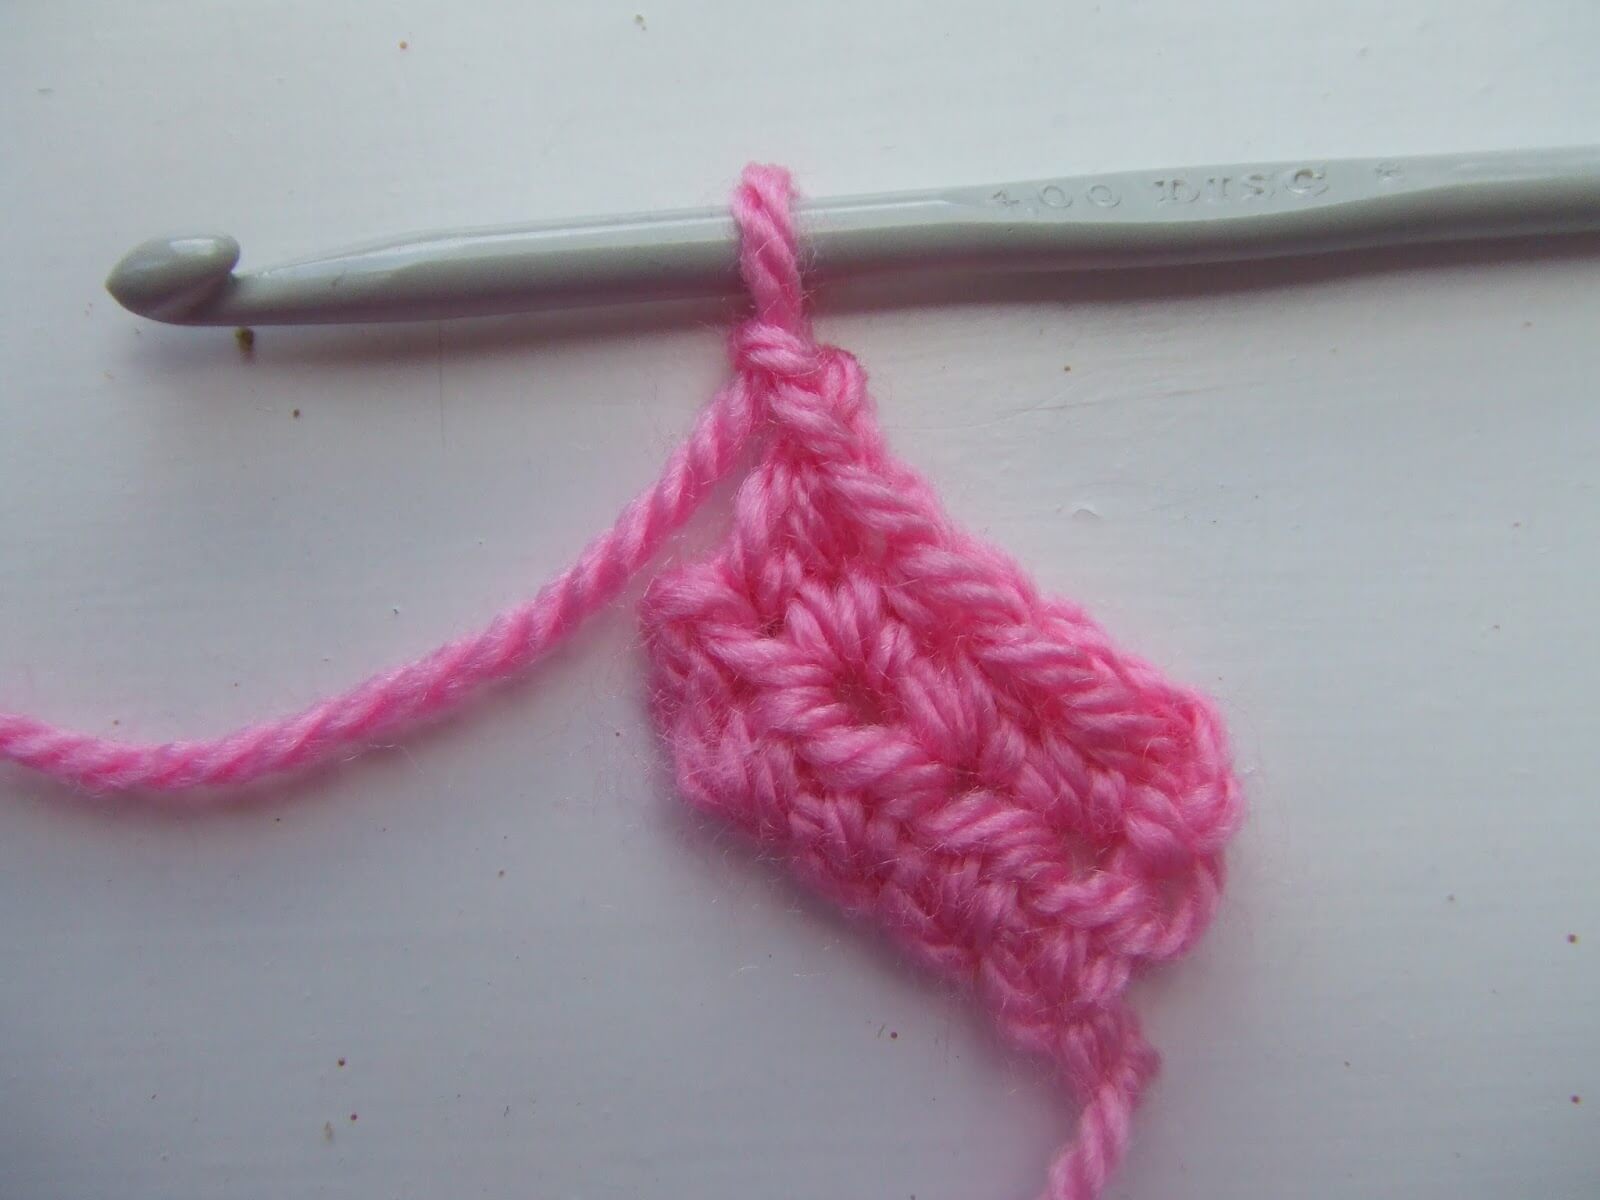
Continue to make the strip as long as it needs to be to wrap round the head when slightly stretched, then cut your yarn leaving a long end for sewing in and pull through the last stitch to finish off. My strip is 49cm, just to give you an idea of how much you’ll need to make.
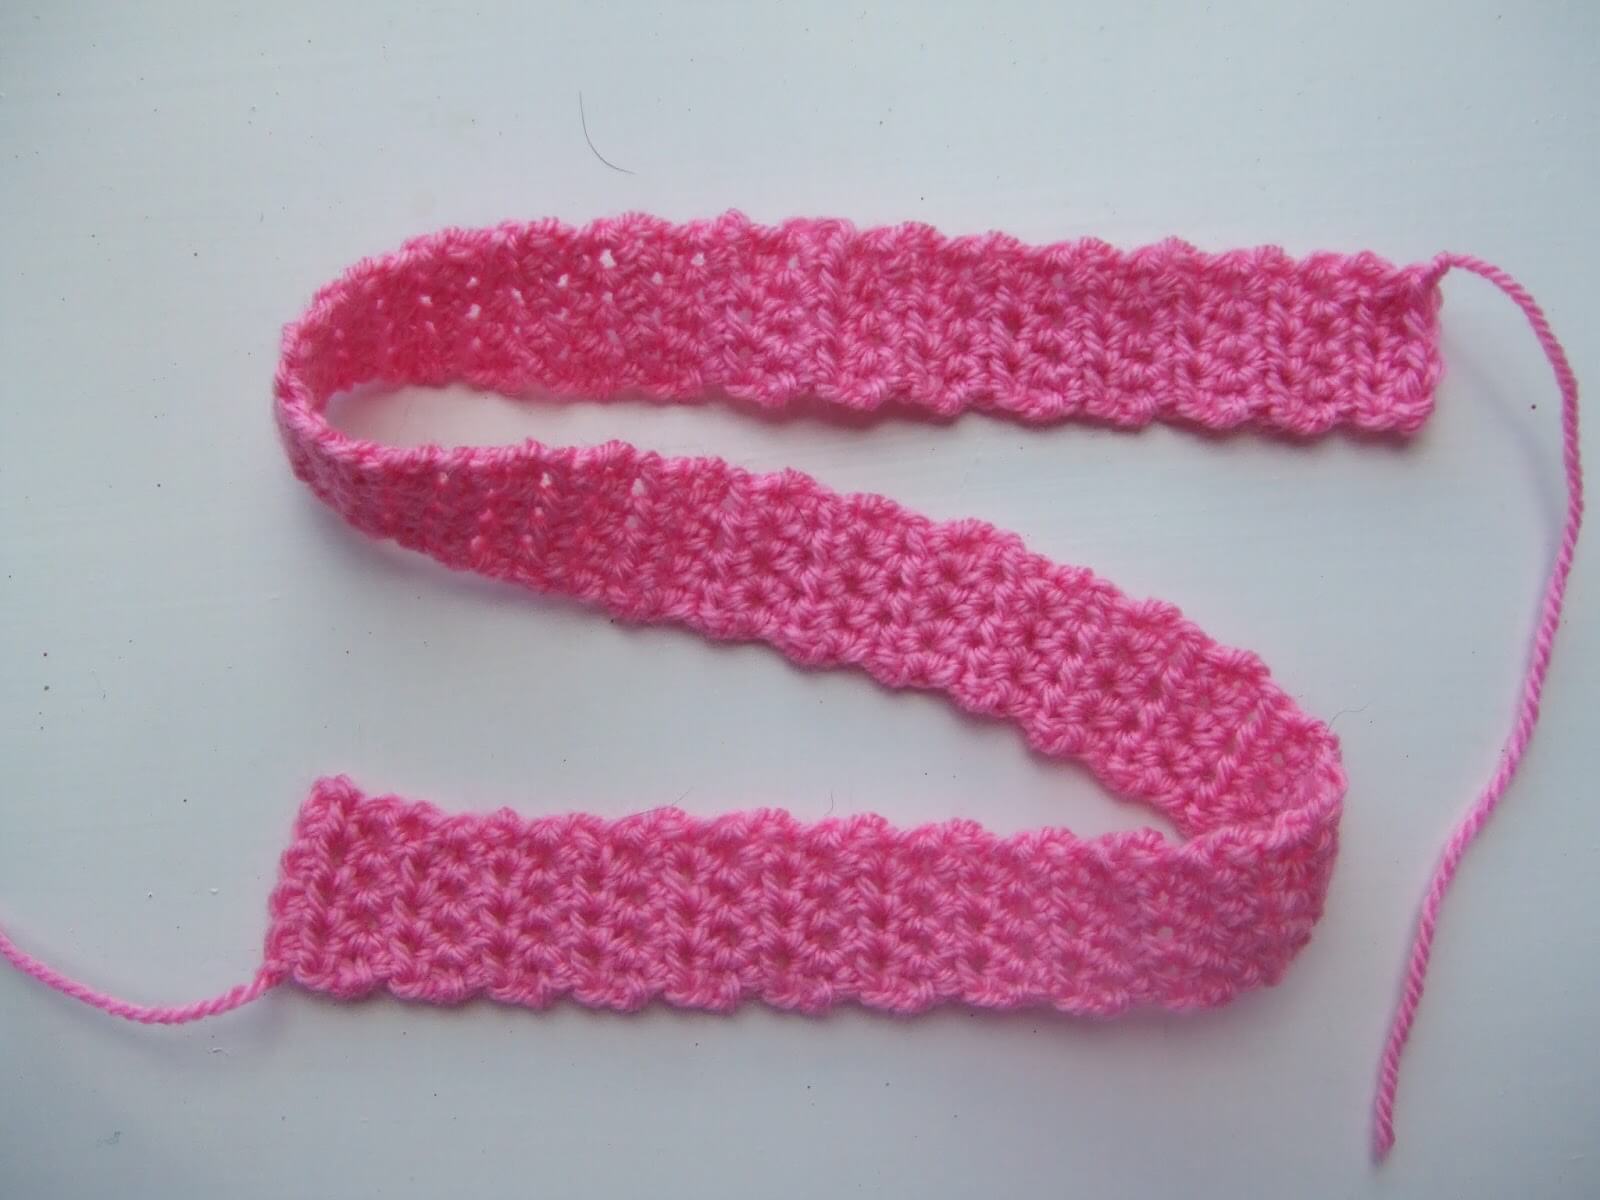
When sewing the two ends together, take the needle through both loops of the top stitch to join it to the bottom section. This gives a nice flat join.

Now it’s time to join the two parts together. To find the middle of both the triangle and the hairband, fold them both in half. I made sure that the joined end of the hairband was in the centre of the triangle so that it couldn’t be seen. Pin the two pieces into place.
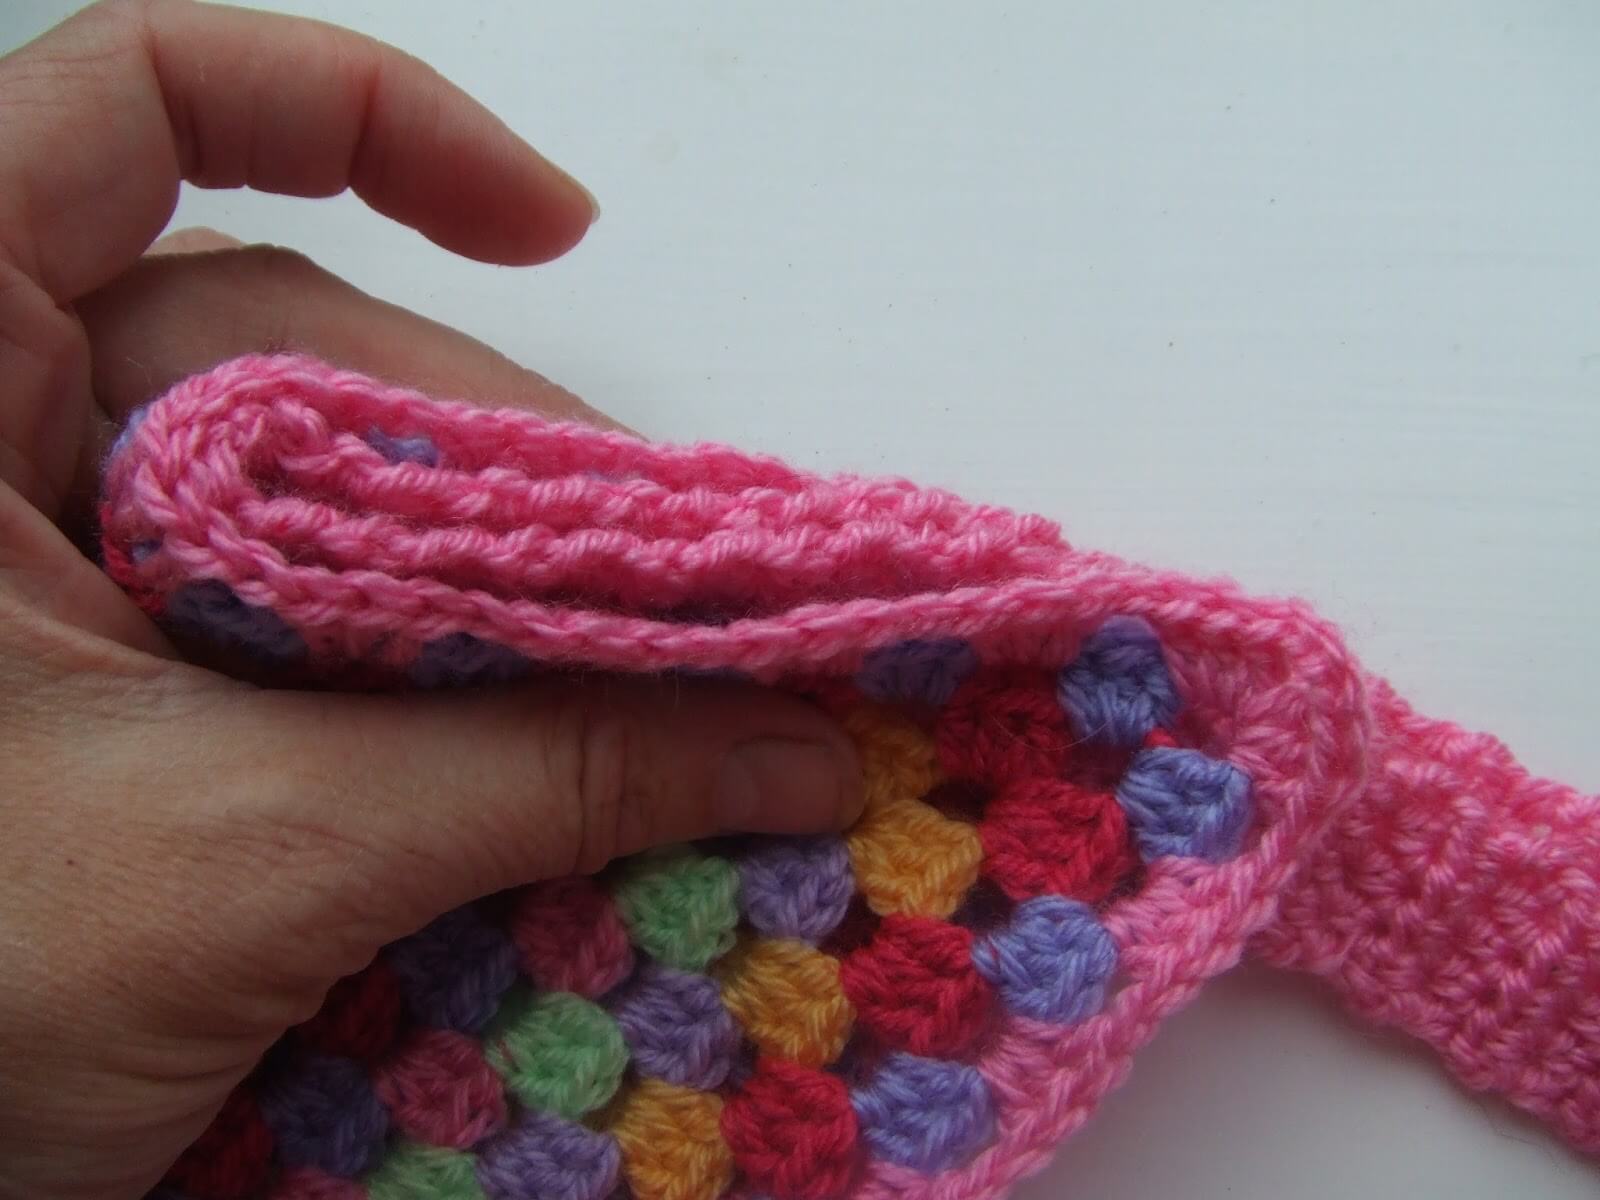
I sewed the pieces together using a running stitch and overlapped the triangle piece slightly so that the hairband was underneath the edge.
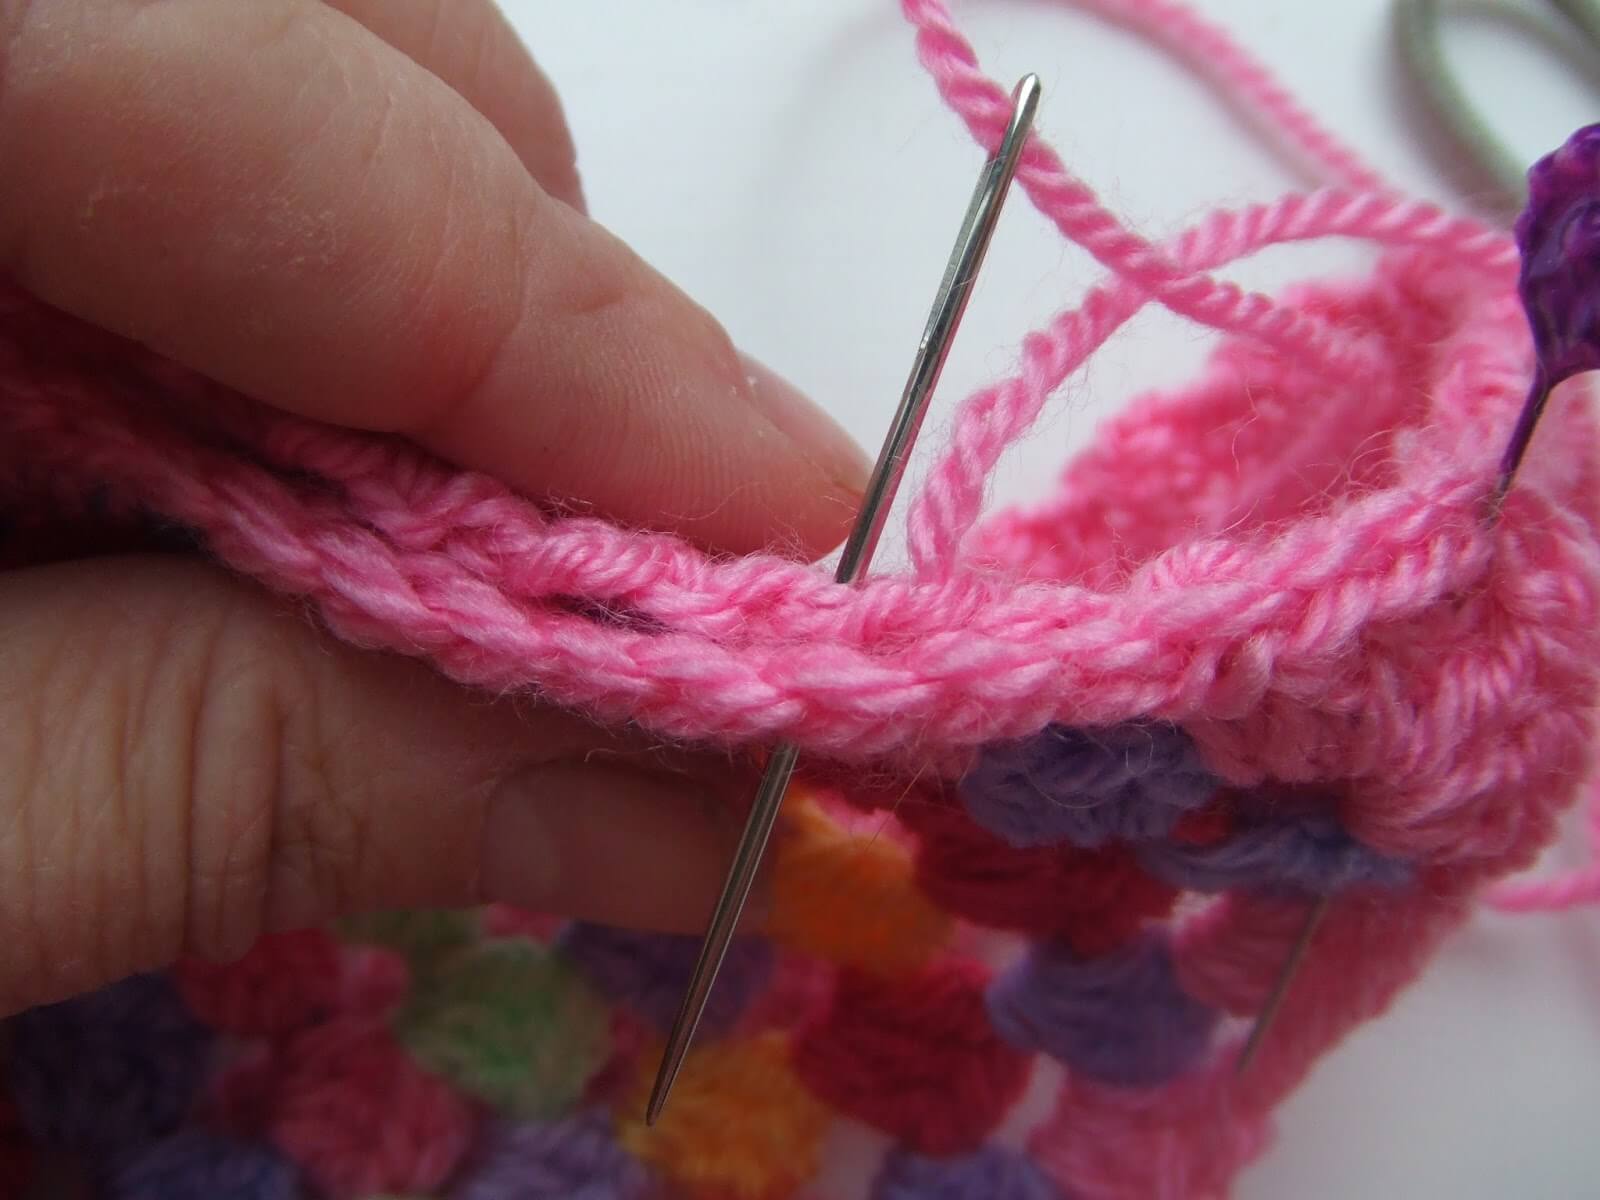
By doing this, you can’t see the hairband once it’s sewn together, you can only see the headscarf triangle. Like in this picture below, see?
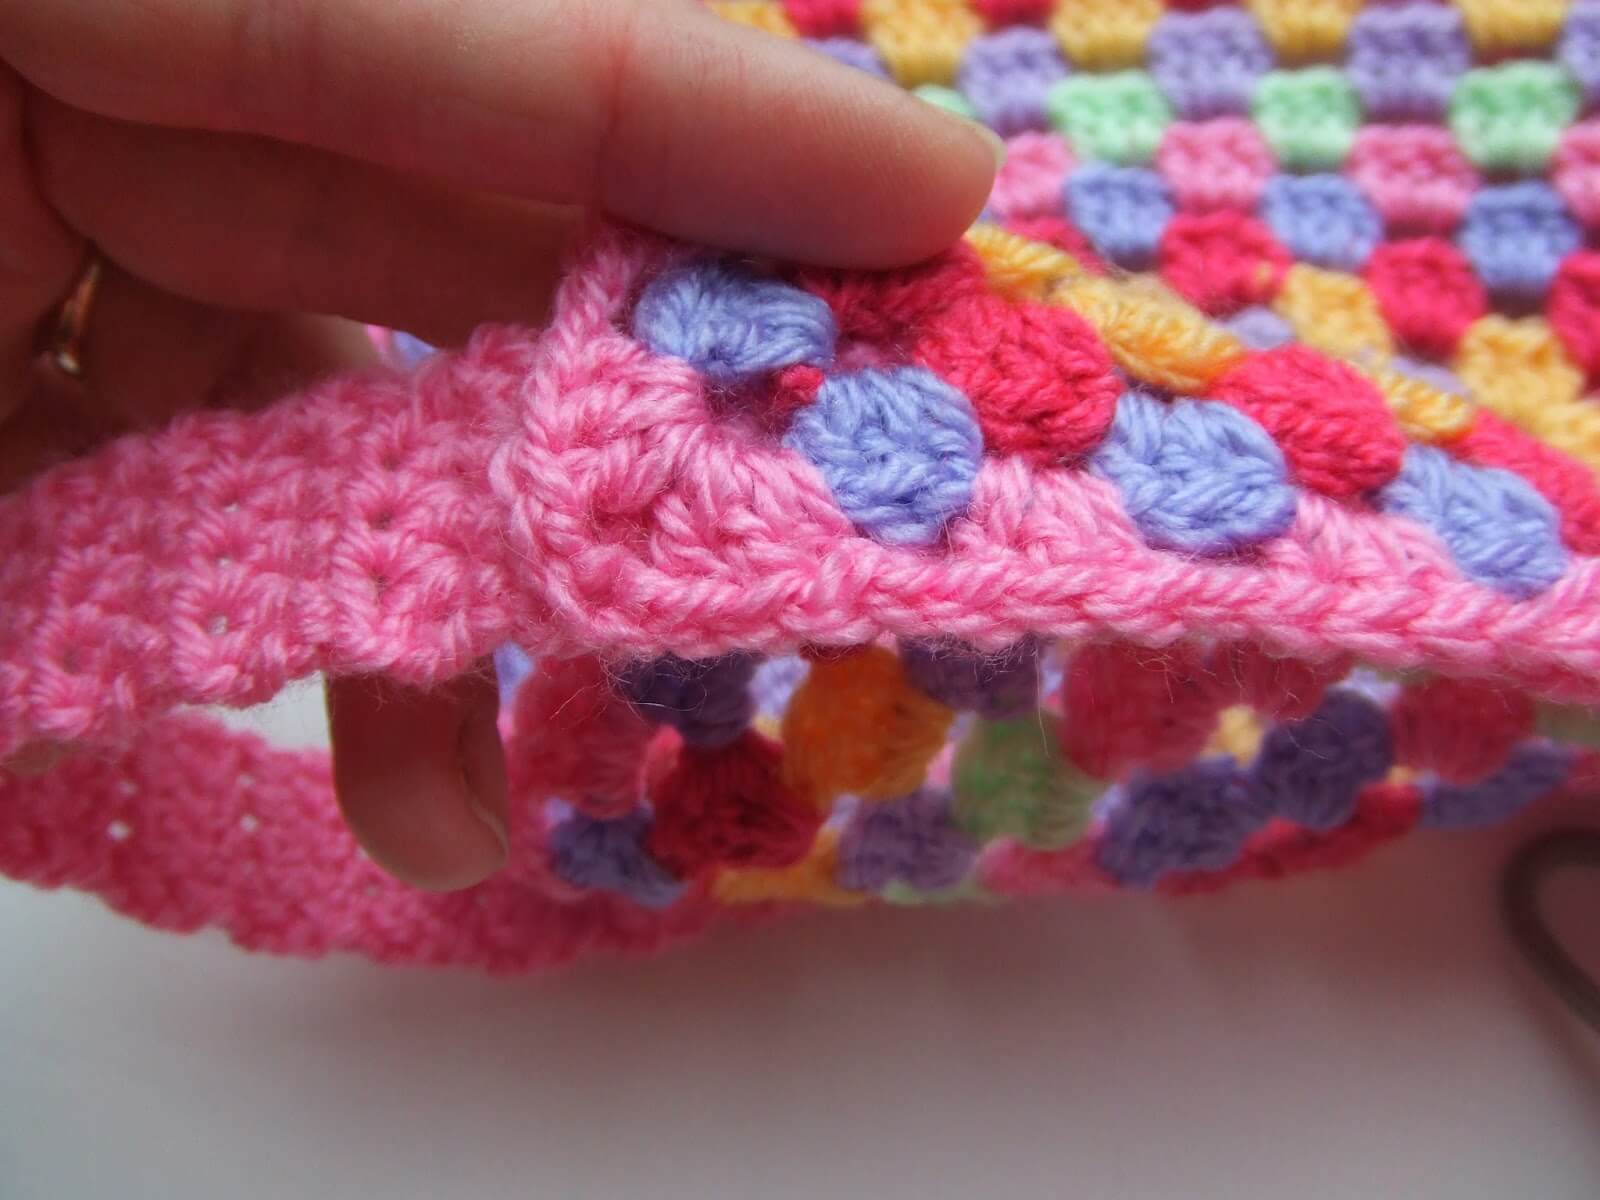
Finally, I slip-stitched the other side of the hairband to the triangle so that it stays securely attached to the triangle when being pulled on and off the head (I don’t know about your small daughters, but mine’s always in a hurry!).

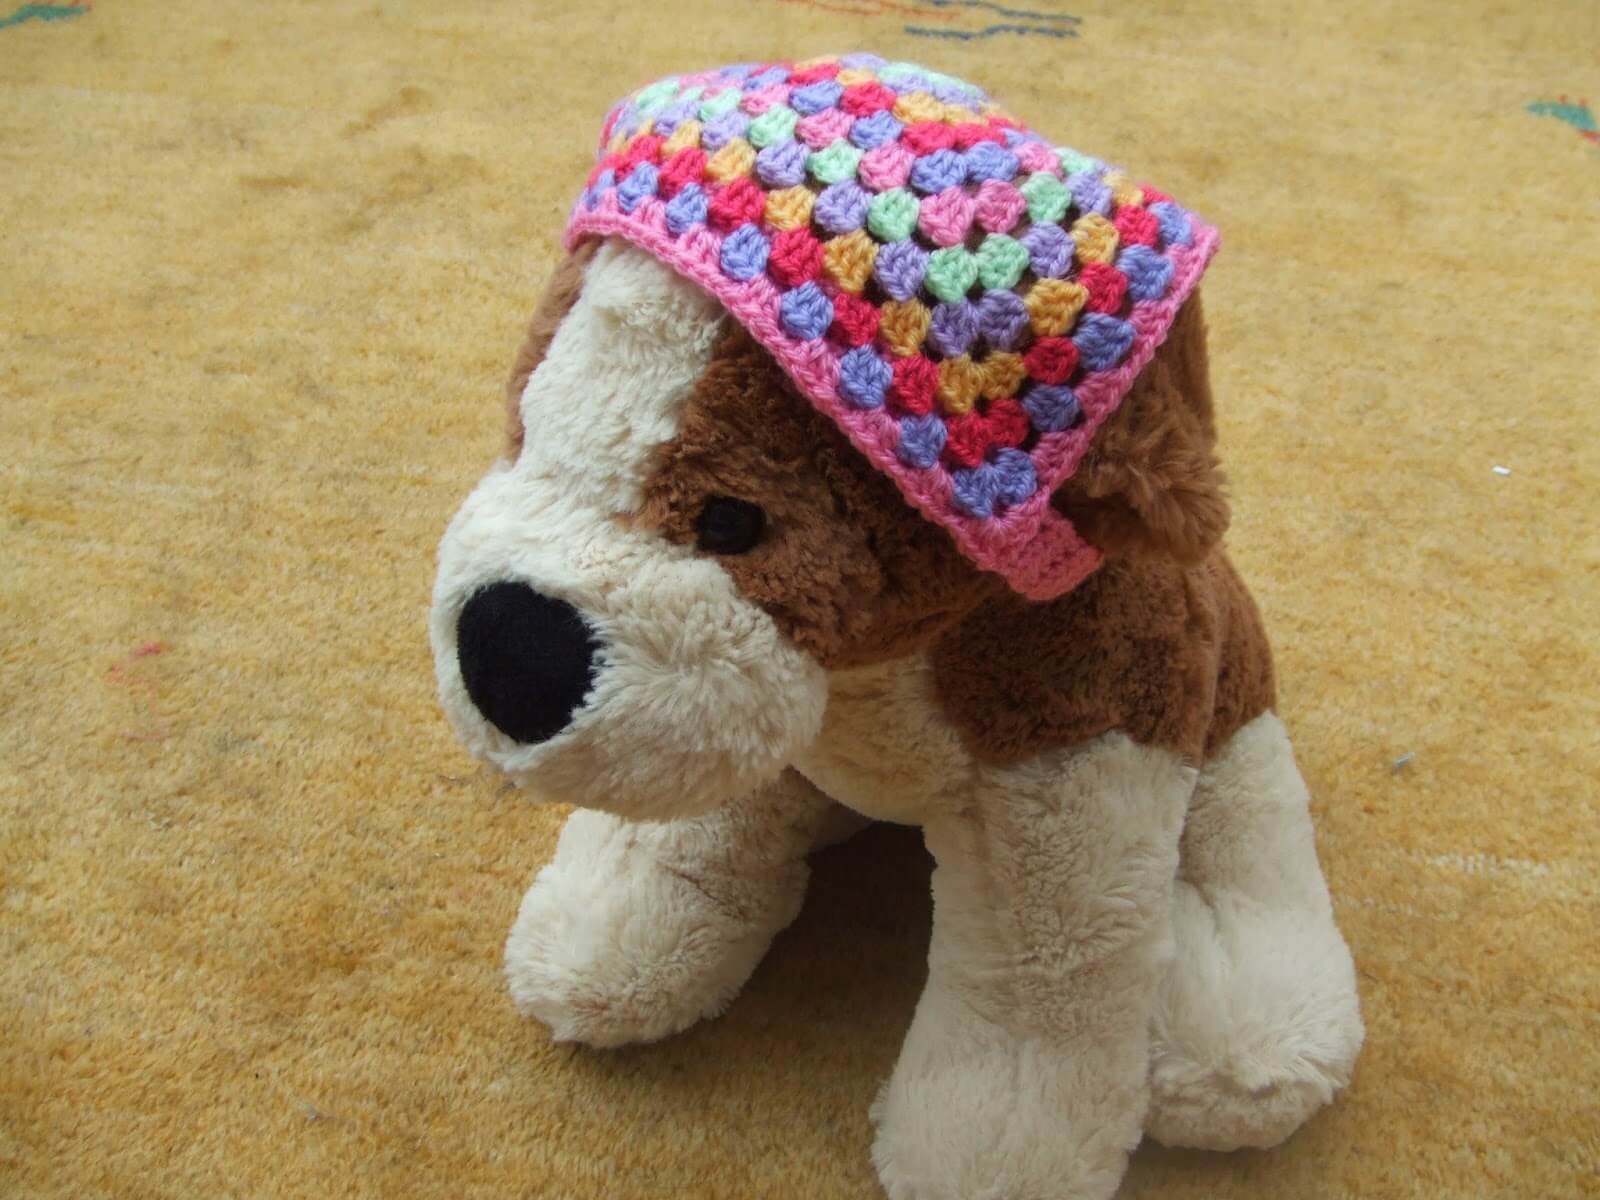
In fact, small daughter was in too much of a hurry to model this headscarf hairband so her toy dog very kindly volunteered instead 🙂
Let me know how you get on if you decide to make one for yourselves! xx
This hairband pattern is free and will always remain so, but if you have enjoyed using it and would like to buy me a brew, it will be much appreciated! You can find the donation button on the sidebar on the left hand side. Thank you! xx
This pattern copyright © 2013 Winwick Mum All rights reserved.
Not to be included in any collection or used for profit without written consent of Winwick Mum.



that is very cute and your daughter looks lovely in it, i am in awe of your crochet skills i cant do that
Thanks Helen – but it's really very easy! I'm sure if you can create some of the fabulous things on your blog then you would be able to crochet too – add it to your list for a spare five minutes! 🙂
That is clever design. I love it. I wonder if my daughter would be keen for one. I know I would be! Thanks for sharing.
Lisa
Thanks for your comment, Lisa! I'm sure your daughter would love one and after Crochet Camp it would be a piece of cake! 🙂
Wow .what a cute pattern I want one for myself .to cover my covid hair! The bandana you dont have to tie! Will post when done. Can this be afapted for a newborn? Thanks.
I don't see why not, you'd just make everything smaller. What a good idea! 🙂 x